Oct 2019: Linear Algebra for Sprite Coloring
I had an “ah-ha!” moment in the later stages of development about how to dynamically color sprites, and while a bit of research would let me know I was hardly the first to have this idea, existing articles stopped short of their potential. You’ll have no trouble finding details about the technical process of using linear algebra for image manipulation, but scarce few details about how well this tool connects directly to the tools and vocabulary familiar to any modern digital painter. Not only that, but the under-implementation of this idea in the graphics libraries and game engines that I’ve toyed with suggests that it’s not a widely-known trick among game programmers either.
This blog post will be my attempt at a rosetta stone, translating the pure math into terms and systems that sprite artists and 2D game programmers are more familiar with.
The Usual Way (and its flaws)
Typically, any library or engine or toolkit that draws sprites onto a screen will let you assign a color to a sprite, and then multiplies the pixels in the sprite by that color.


If you play around with this you’ll notice a severe limitation: you can only ever darken a sprite this way, never lightening it. Want to flash a sprite white to show feedback that the player is doing damage to an enemy? Tint it an ice blue when it’s frozen? Turn it gray when it’s been turned to stone? Those options just aren’t on the table.
Your next instinct, like mine, might be to play with some shaders. If you’re familiar with Photoshop blend modes, you might try to implement a linear dodge or linear burn, or even a hybrid of the two. Maybe you’d add a second vertex attribute that applies a screen blend, after the multiply blend. Or… should it be before? Maybe, like me on my first attempt, what you’d really want is to have multiple blending modes available for different situations, and you’d wind up with an inelegant mish-mash of branching code in your shader and a nagging feeling that there must be a better way.
This is the point where matrices came to my rescue — by using a 4x4 matrix parameter in place of a single color, that unlocks all of those coloring methods (and more) in a simple, efficient package.
The quickest (non-)explanation of matrices on the internet
A matrix, for the uninitiated, is a big scary block of numbers. We’re going to stuff those numbers into a box and not think about them for a while, and instead focus on what you can do with them.

The three things you’ll want to know about matrices to understand the rest of this article are:
First: We can use a box to turn one color into another color:

In formal mathematical parlance, this is multiplying a vector (our color) by a matrix (our magical box). The cartoon goes from right to left and not left to right because that’s the way mathematicians write this operation out.
… and we can use them to turn an entire image full of colors into an image full of different colors:

Second: We can chain boxes together:

In formal mathematical parlance, this is another example of multiplication. This time, though, it’s one matrix multiplied by another matrix.
… but their order matters:

Third: You can take any chain of boxes and smoosh them together into a single box:

So what fits inside a box?
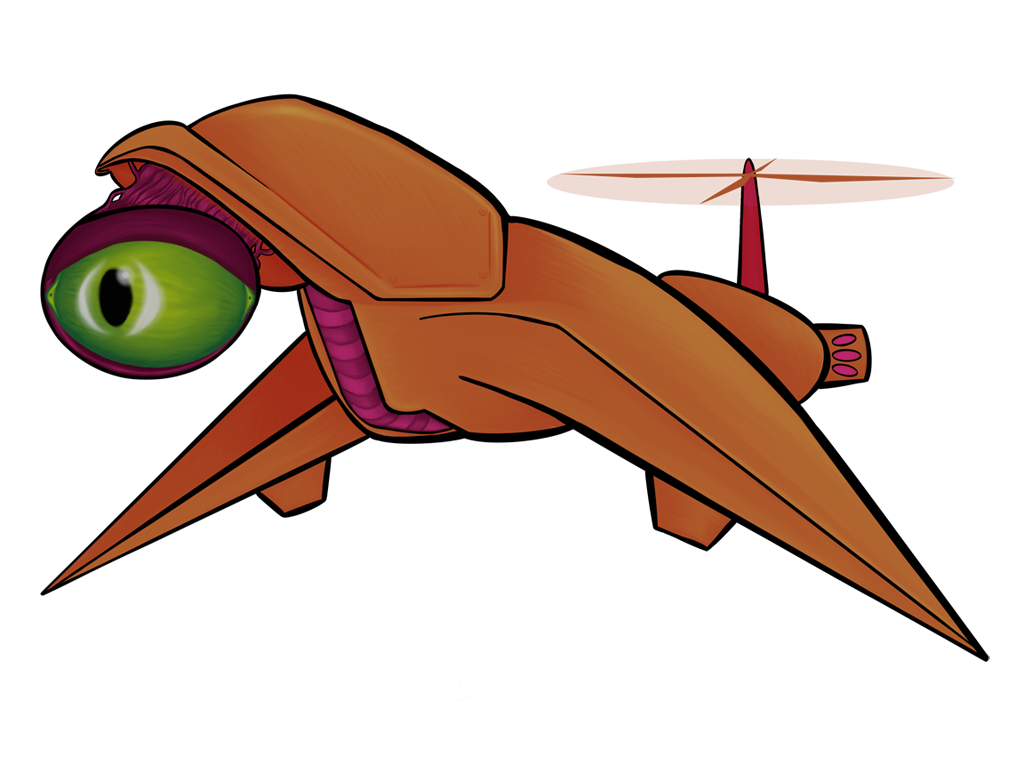
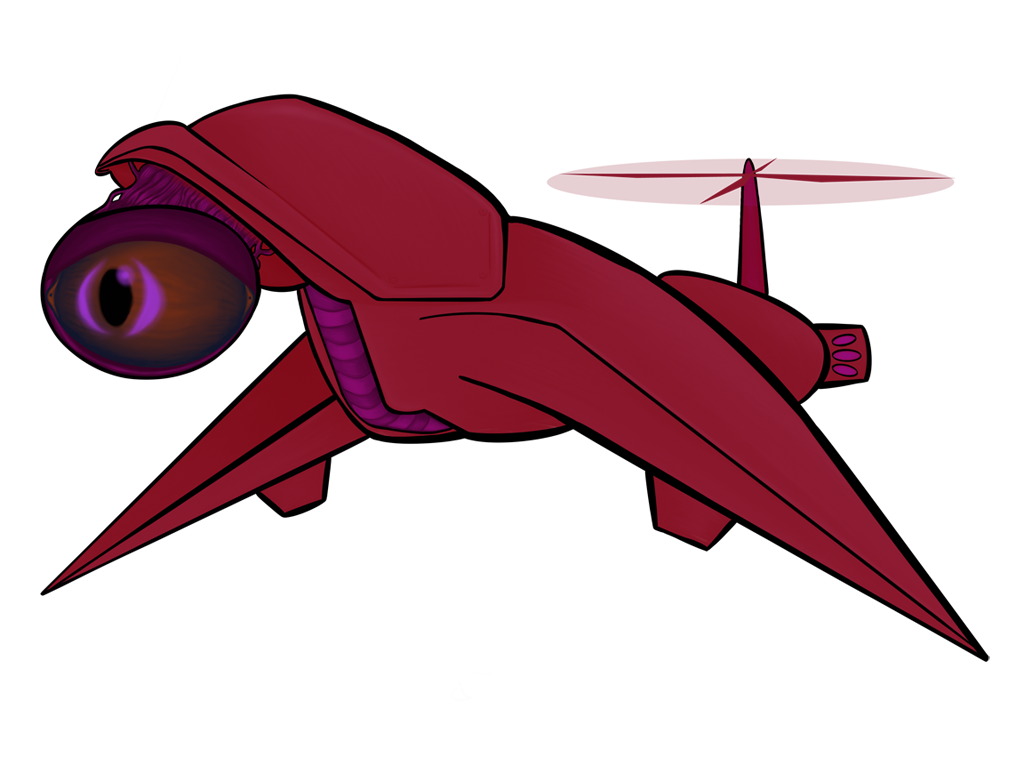
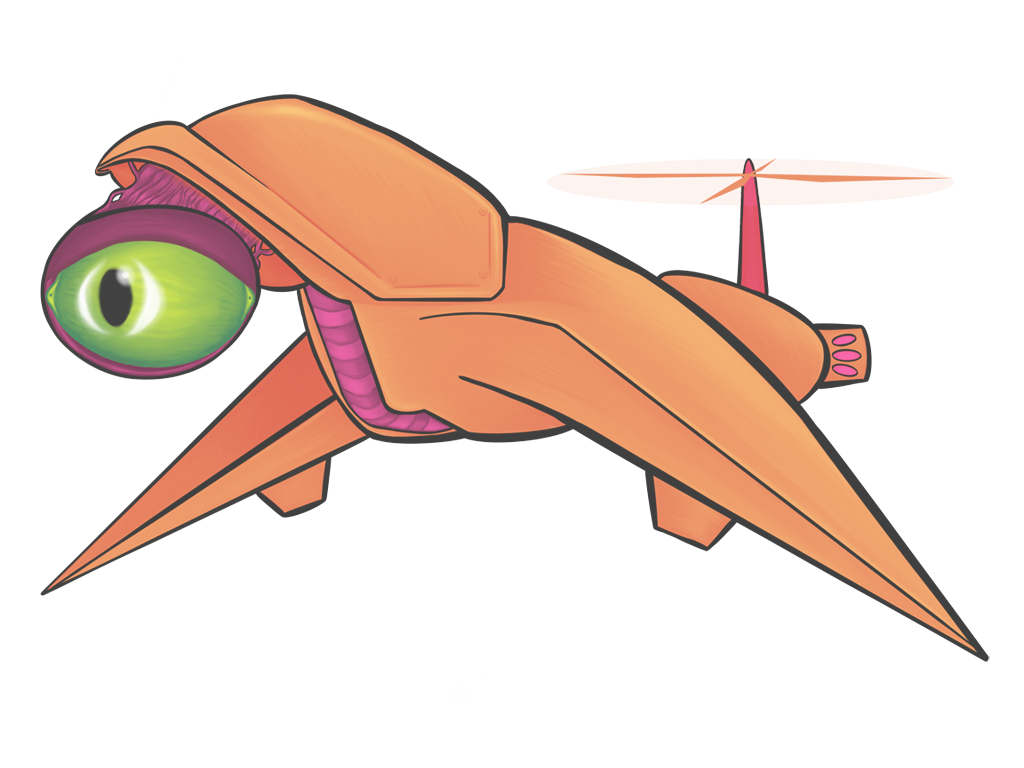
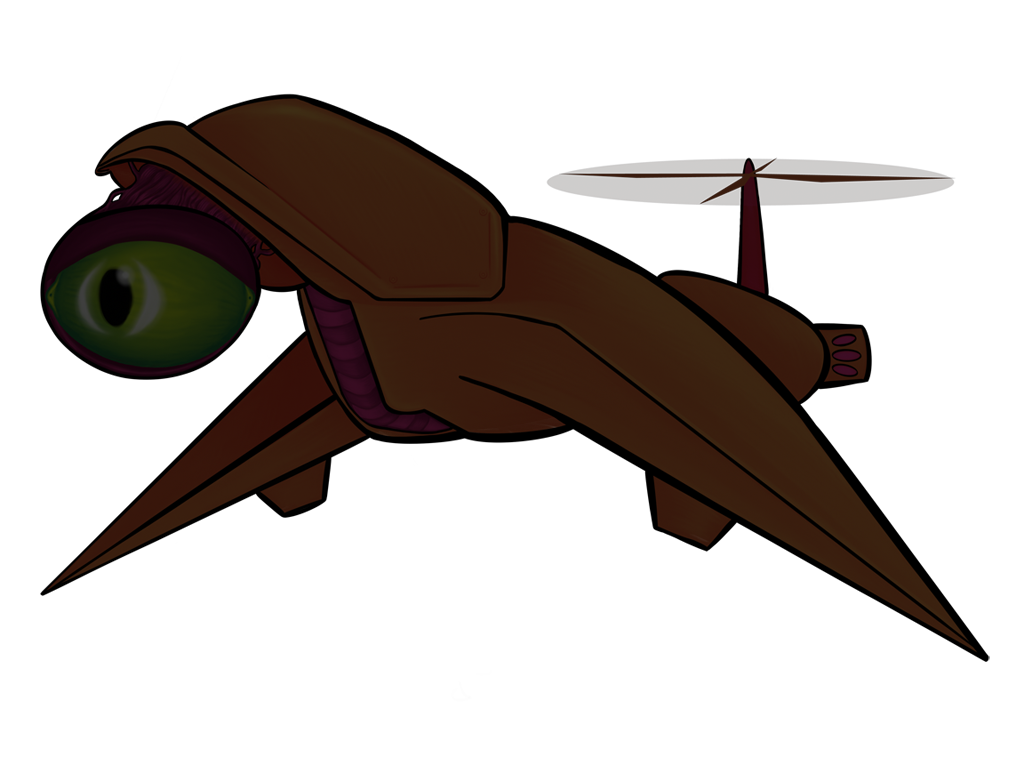
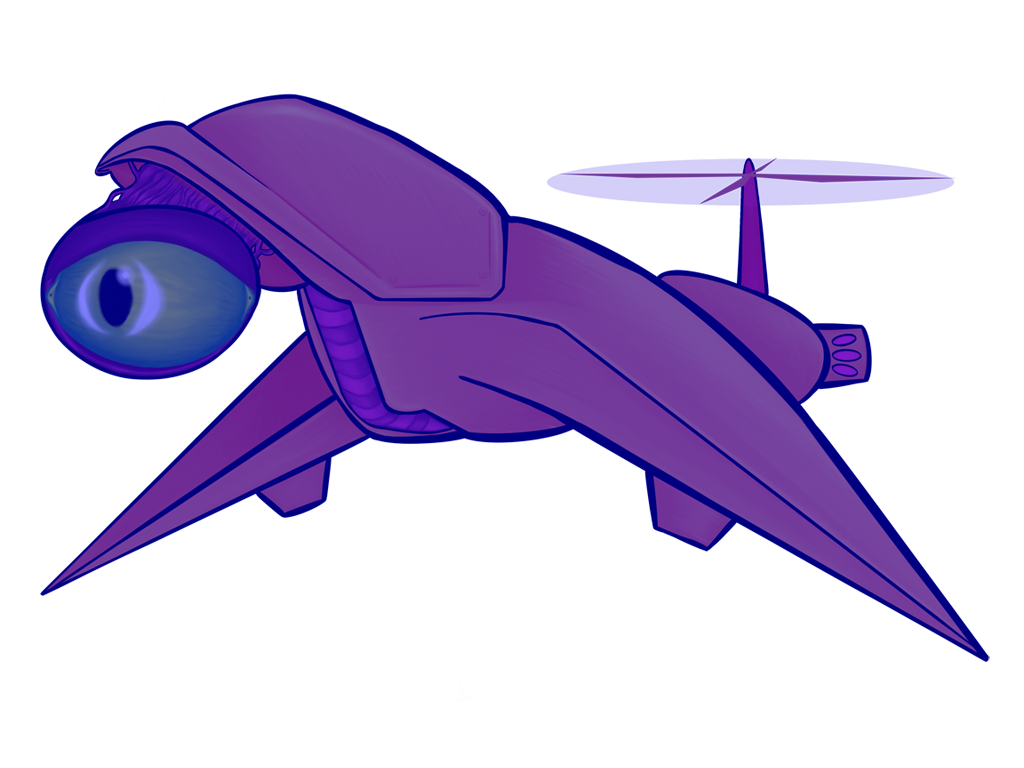
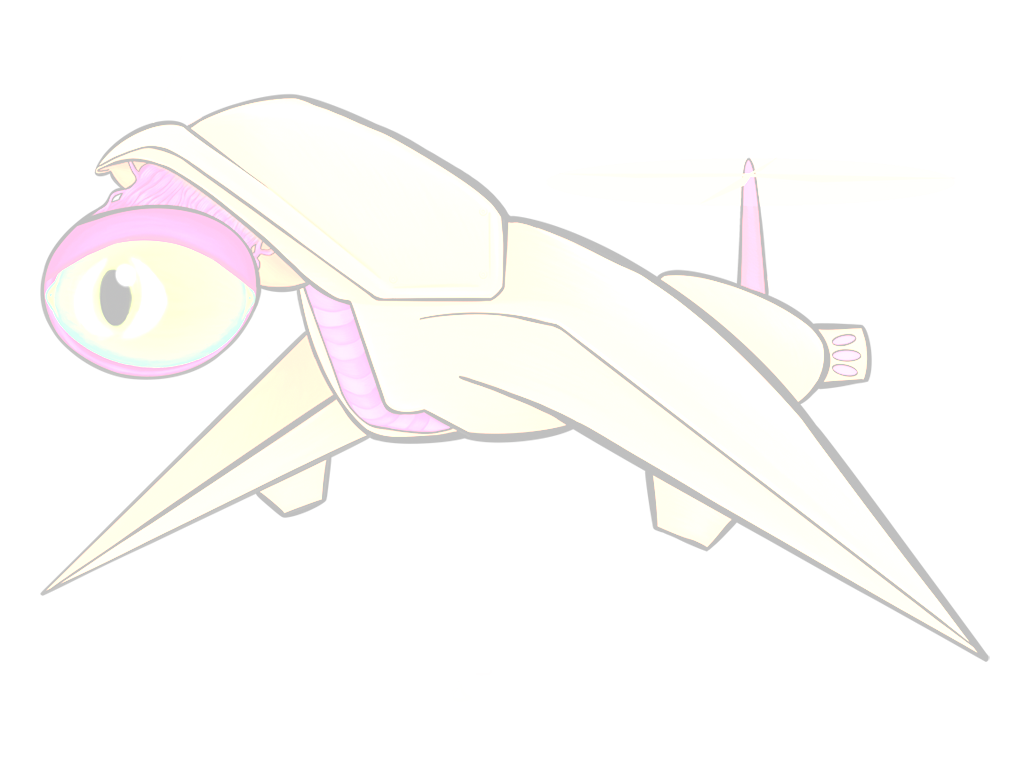
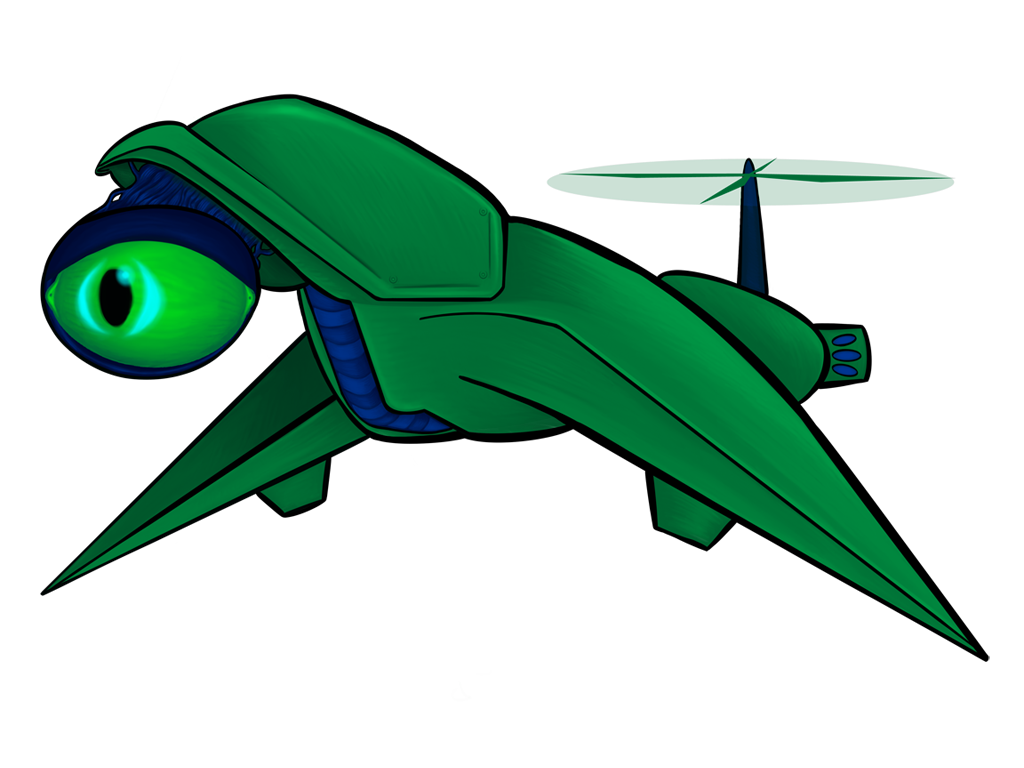
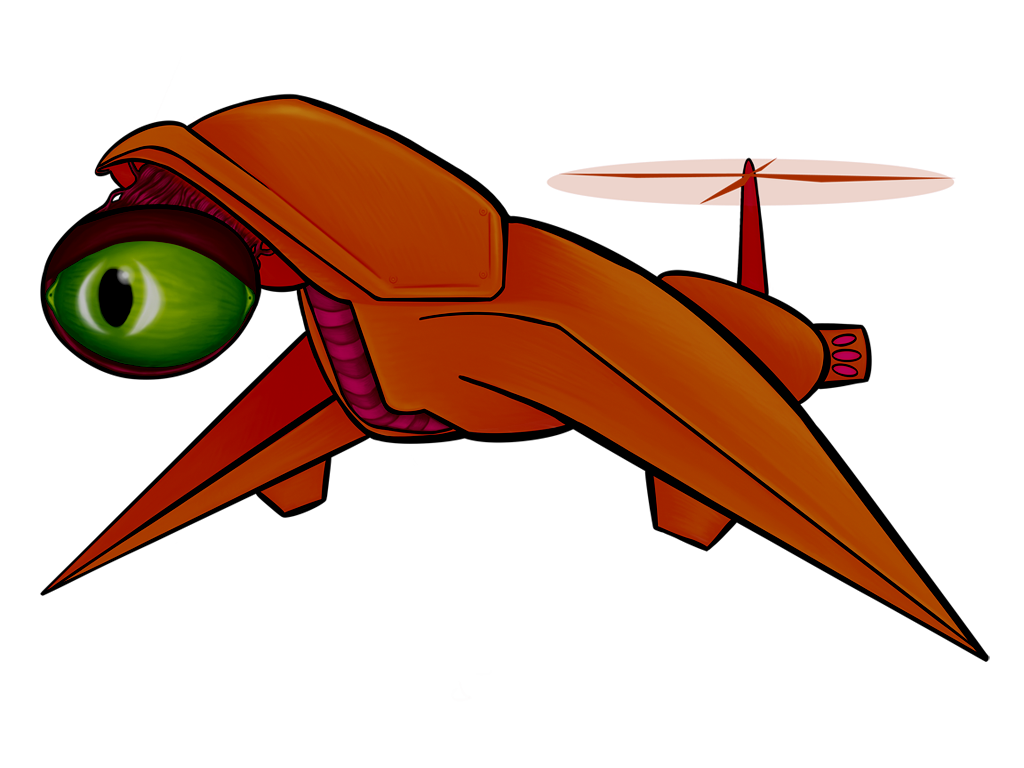
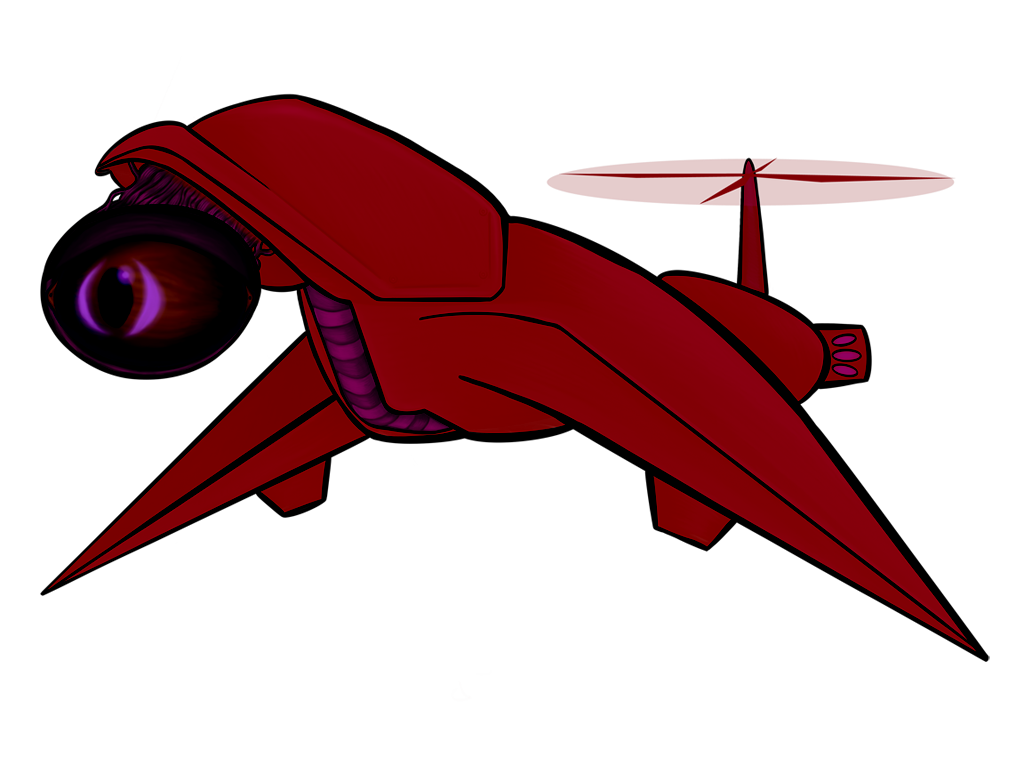
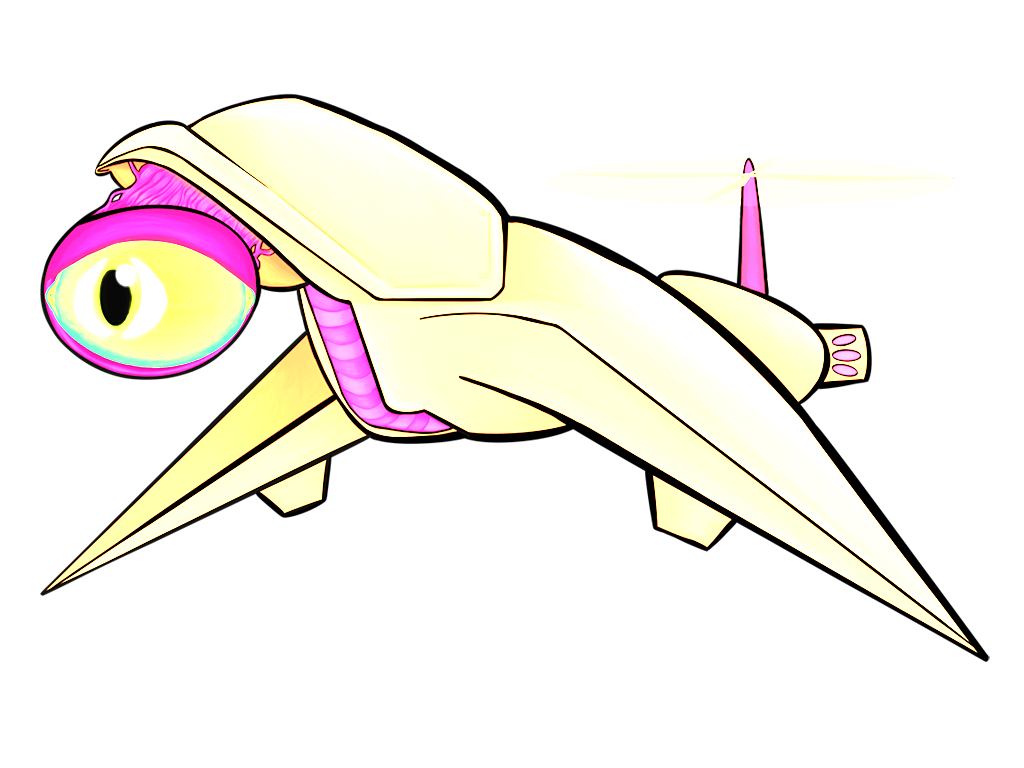
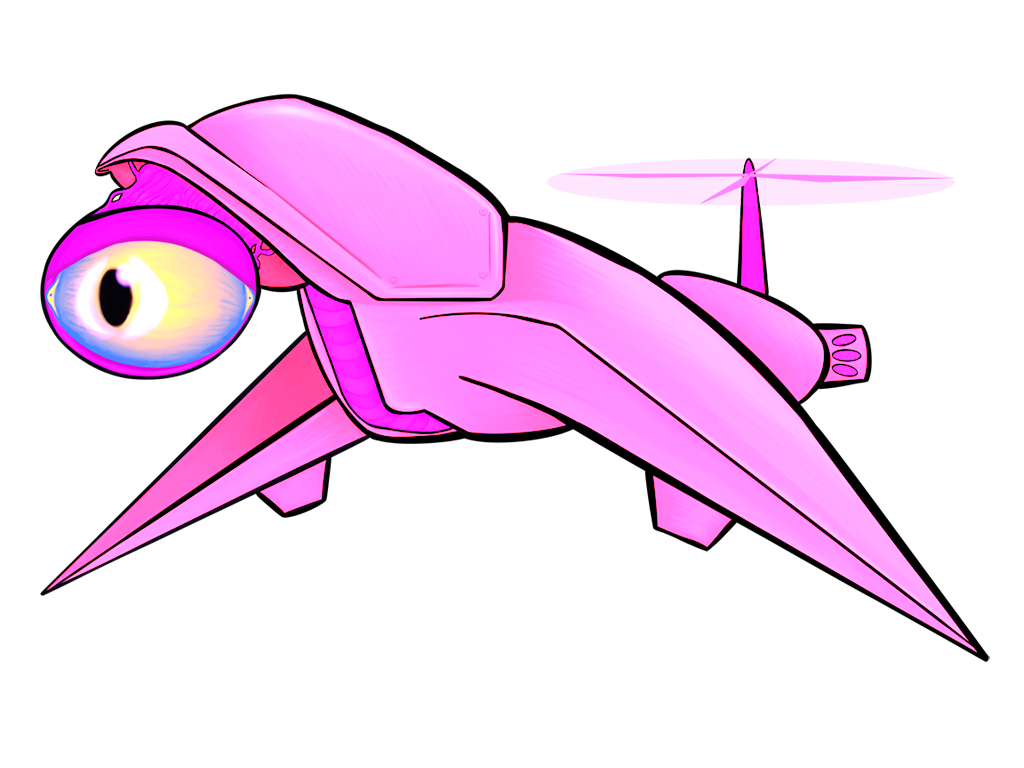
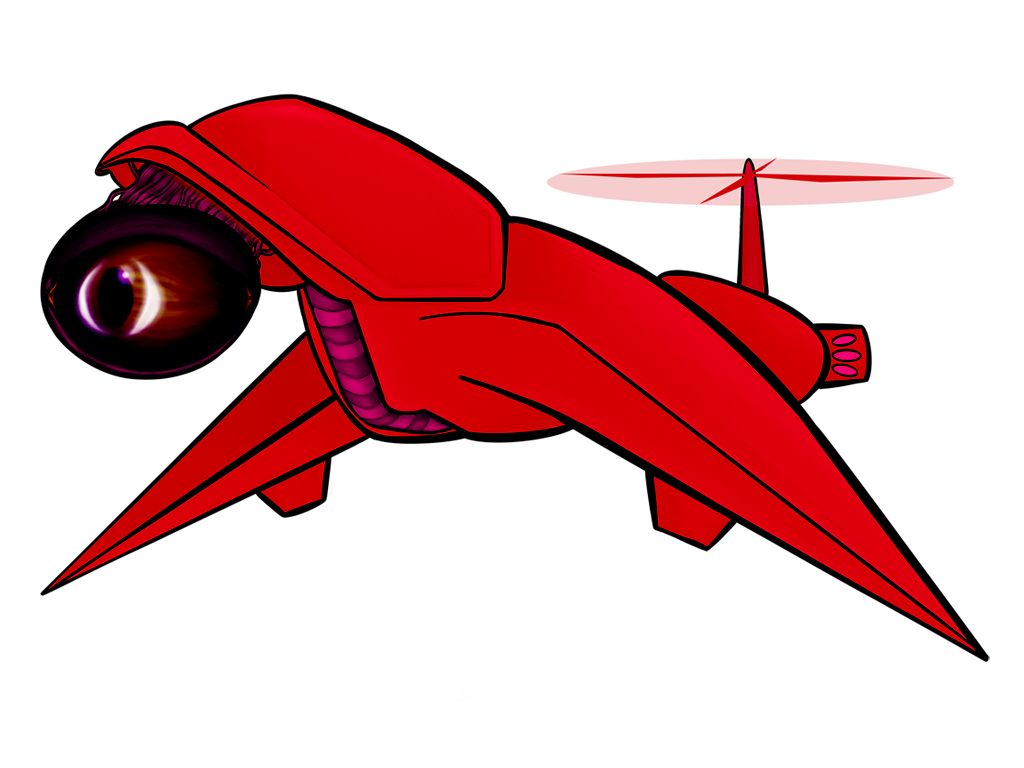
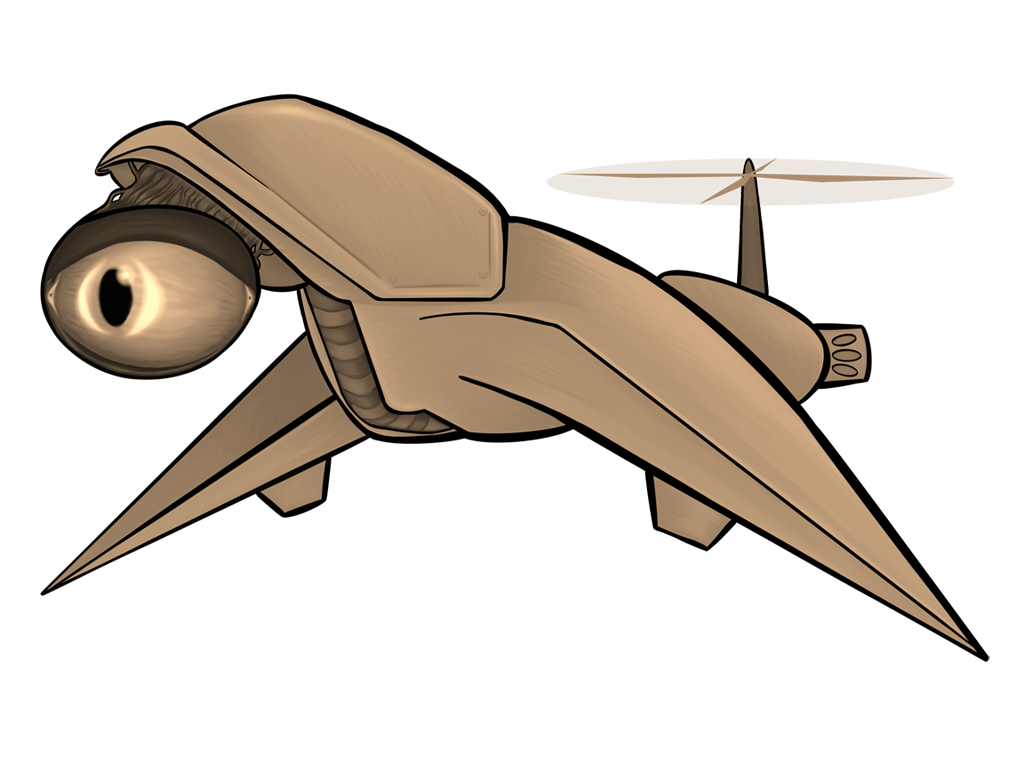
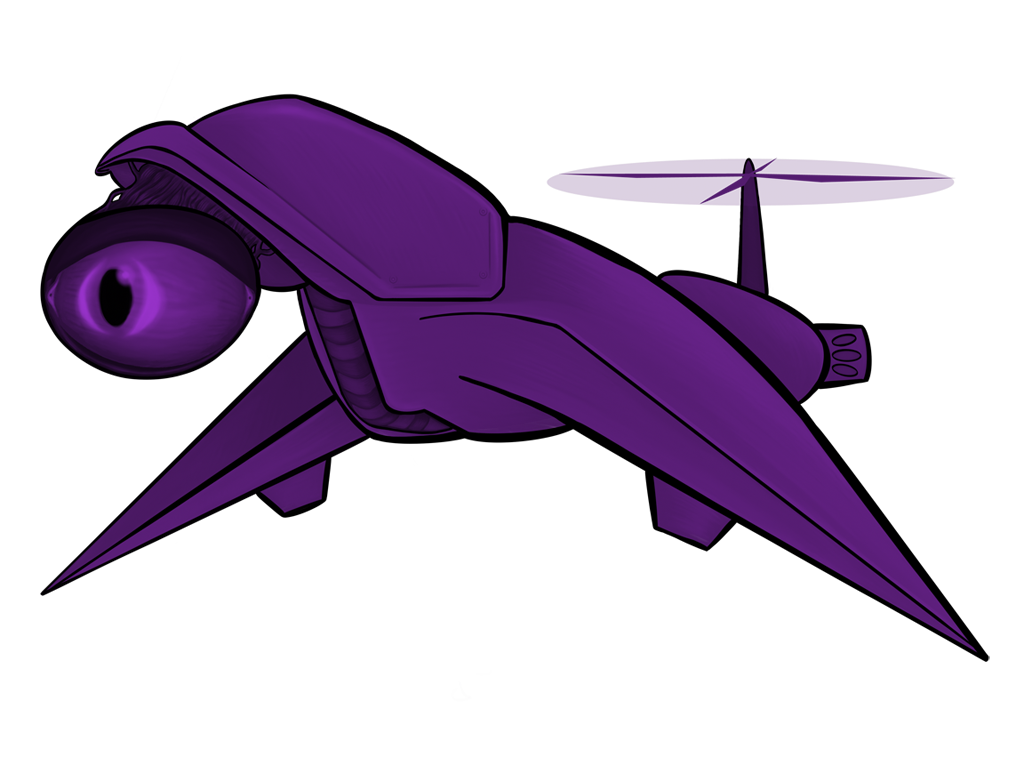
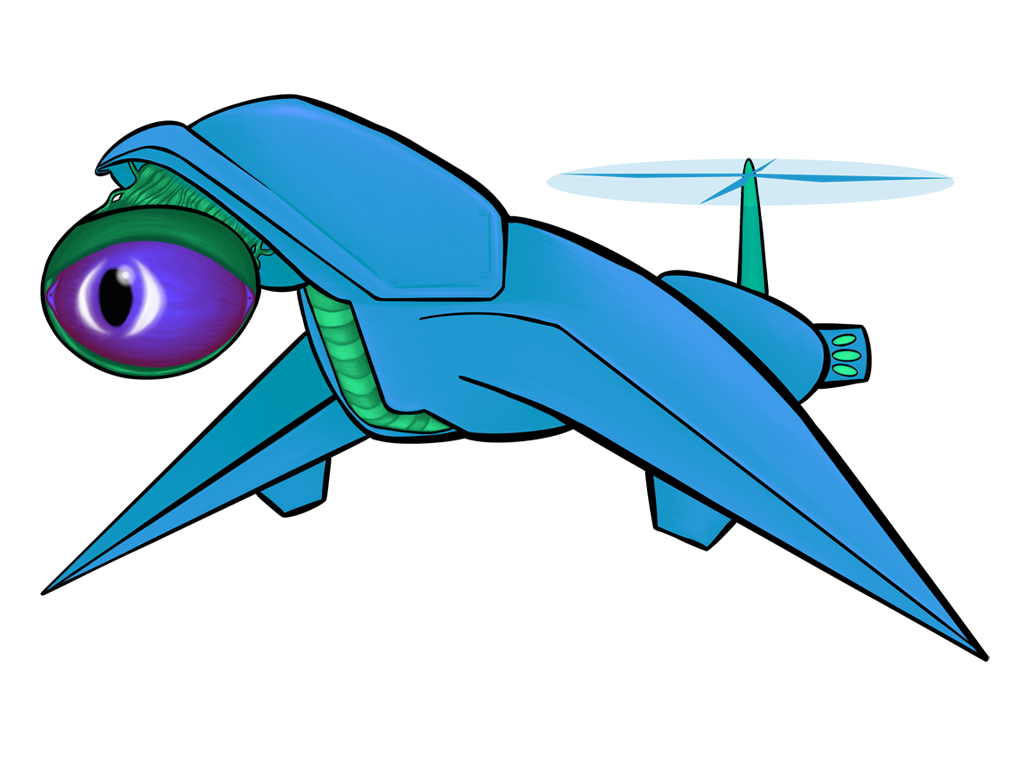
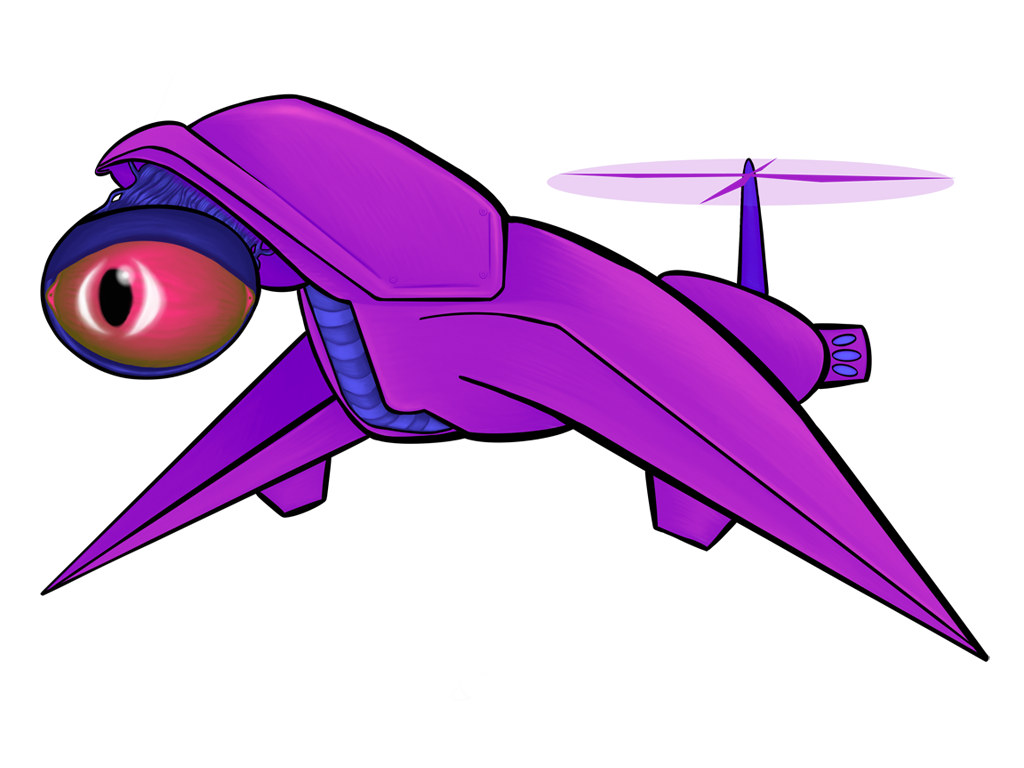
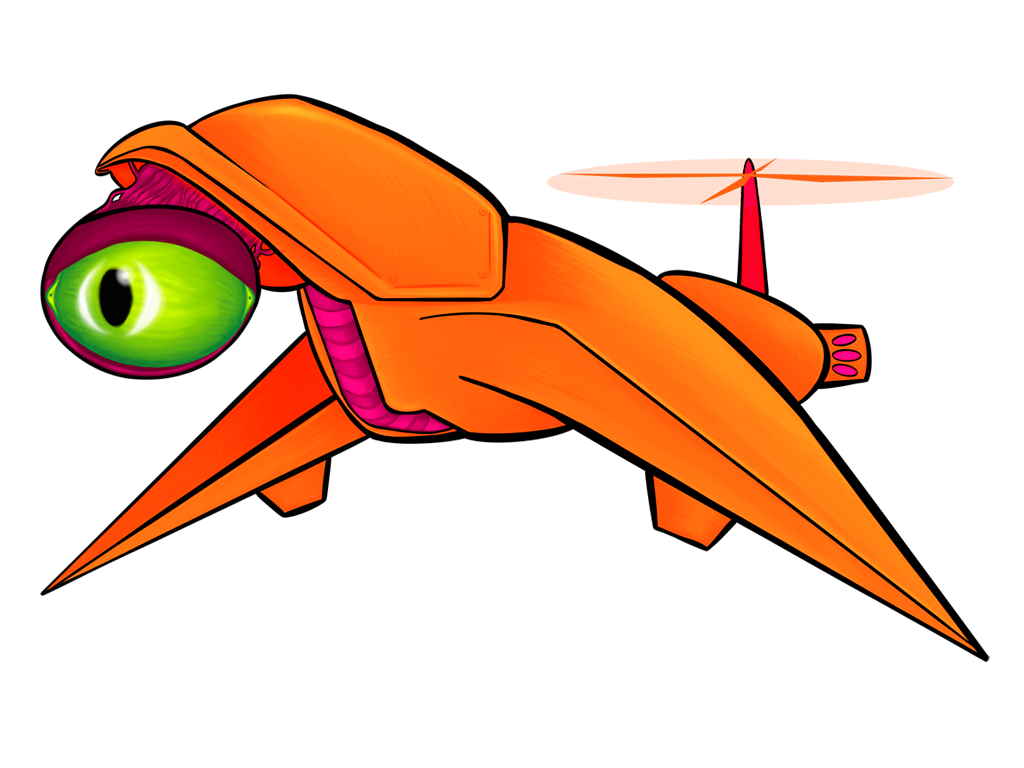
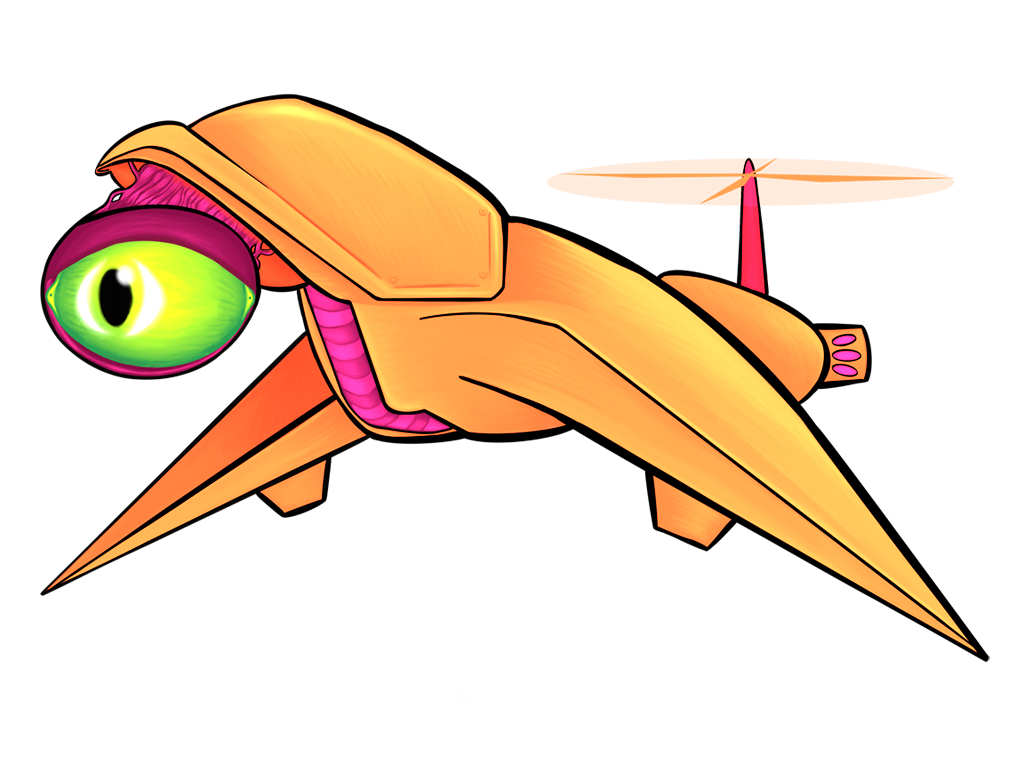
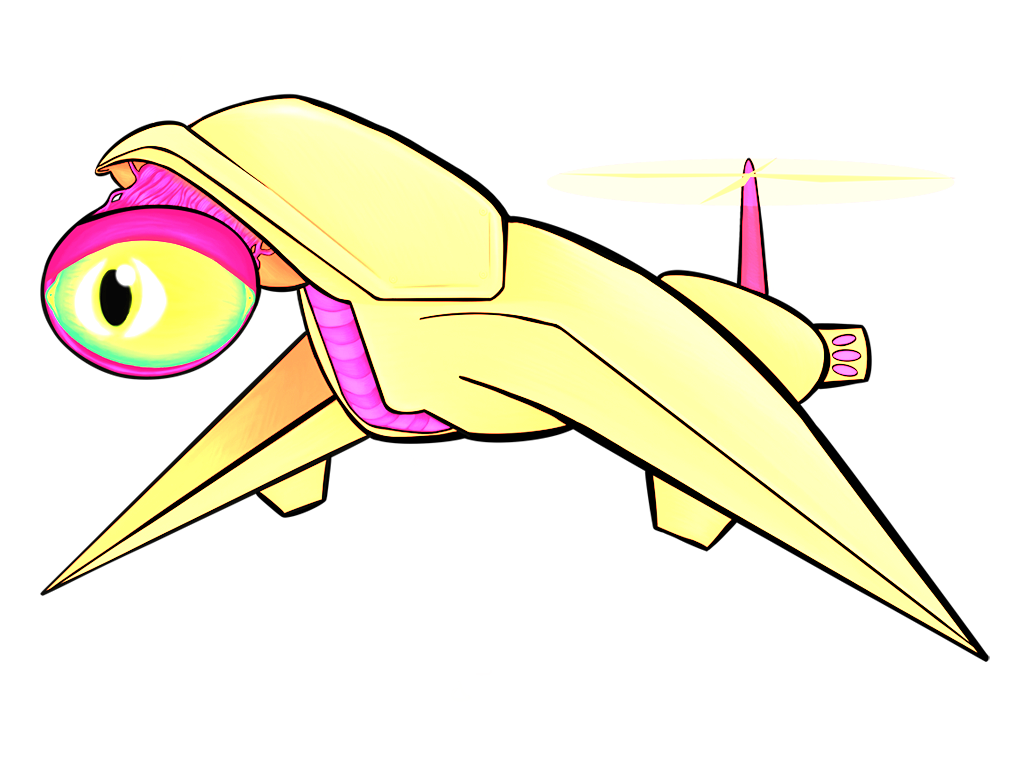
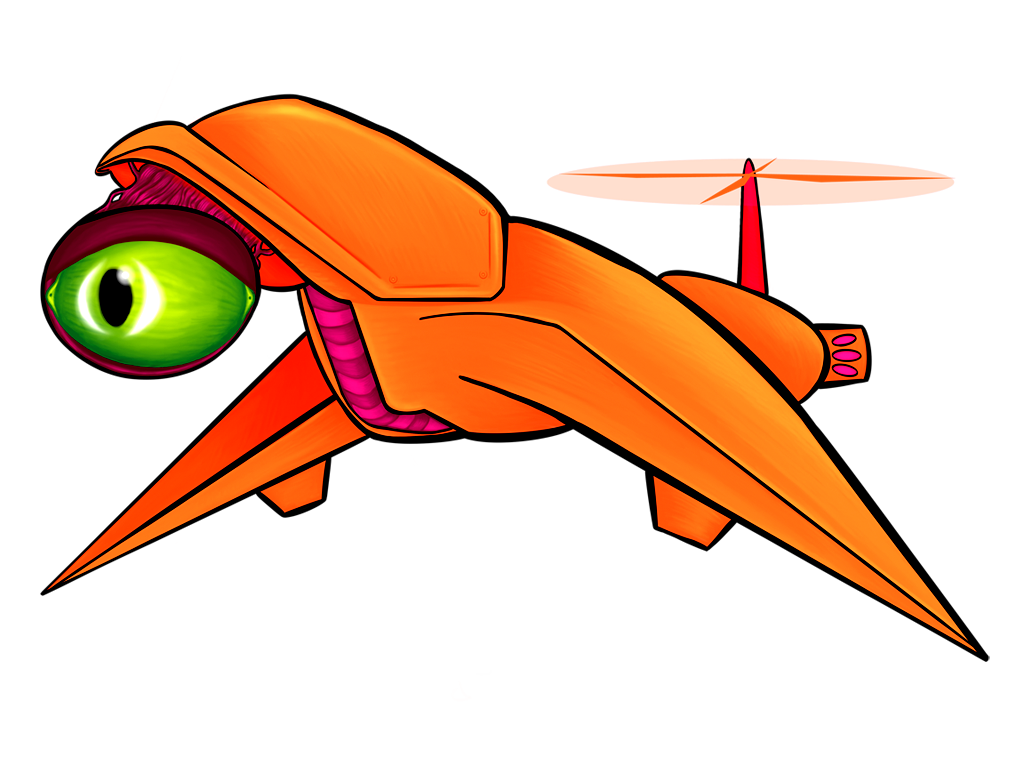
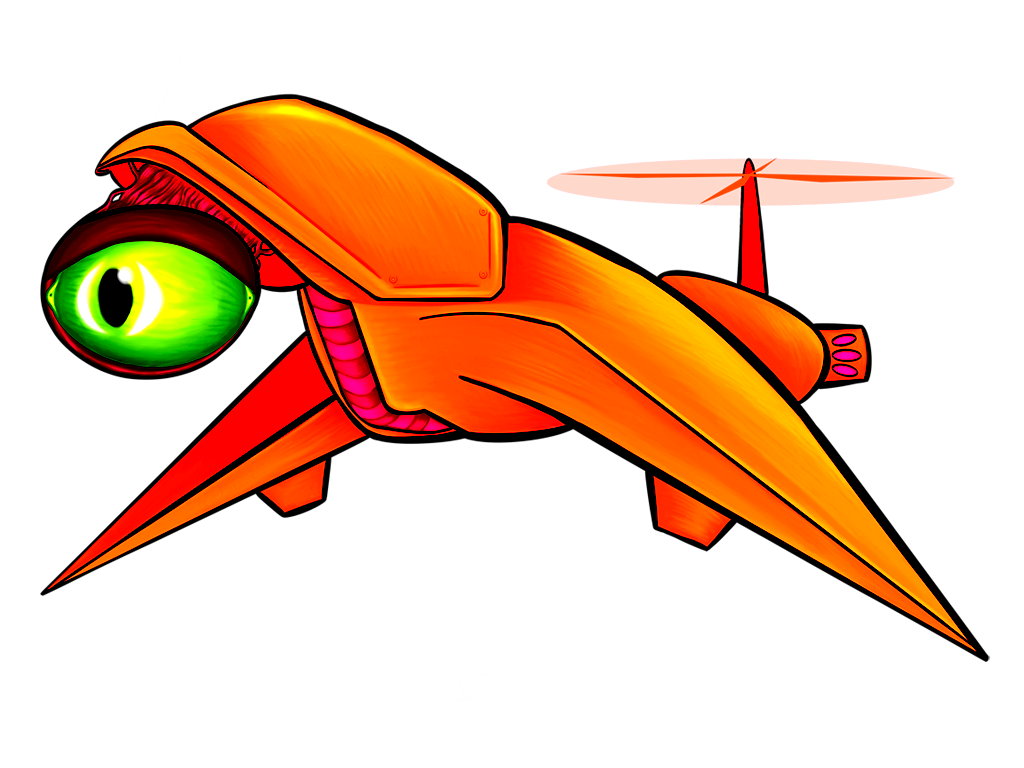
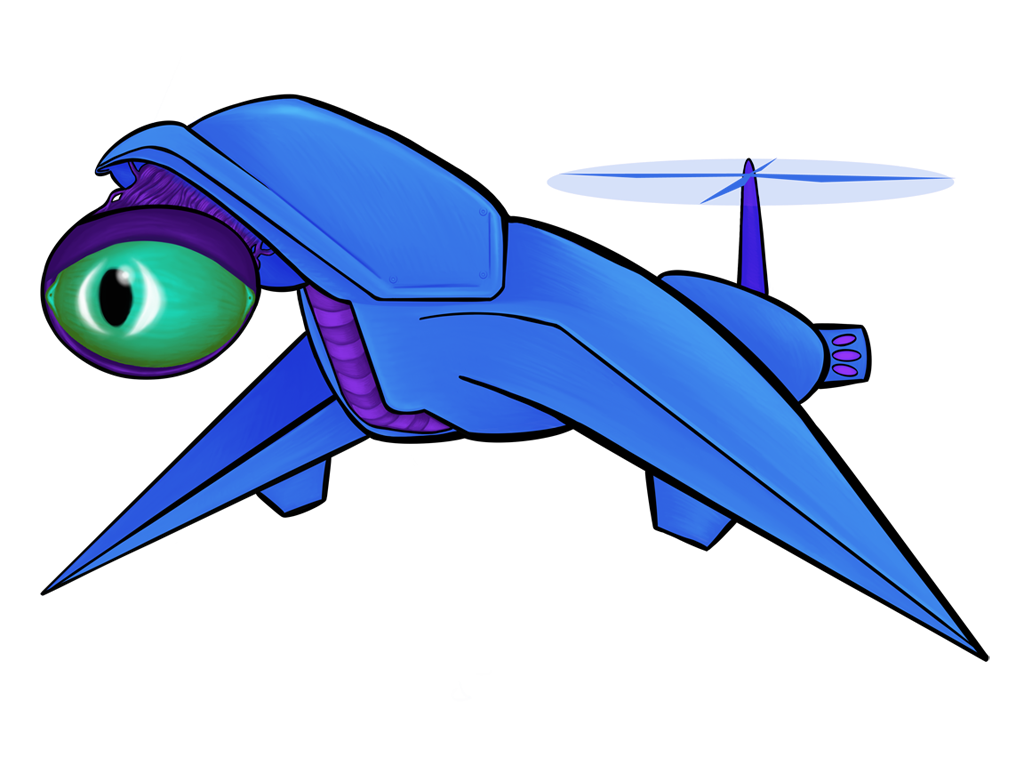
Mathematically speaking, we can use any effect that can be expressed as a linear transformation. This excludes things with quadratic, exponential, and otherwise curvy math to them, like gamma adjustment and some more advanced contrast enhancement techniques. It still leaves us plenty of options though, and they’re varied enough that it’s easier to show some examples than to try and define them as a group:
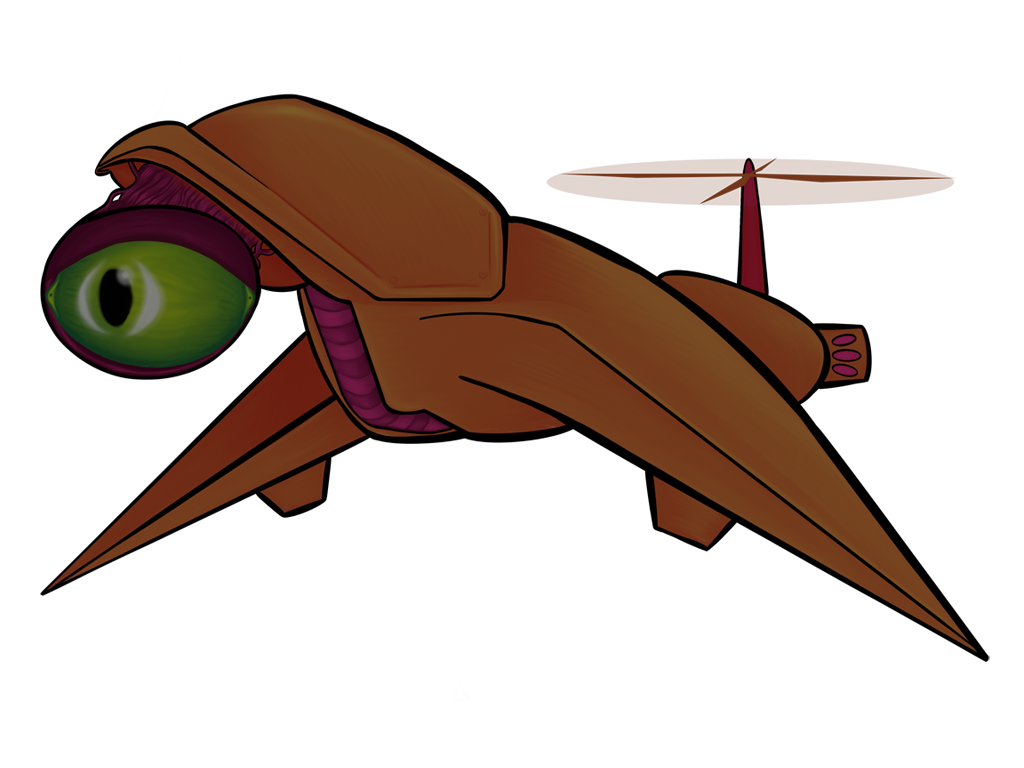
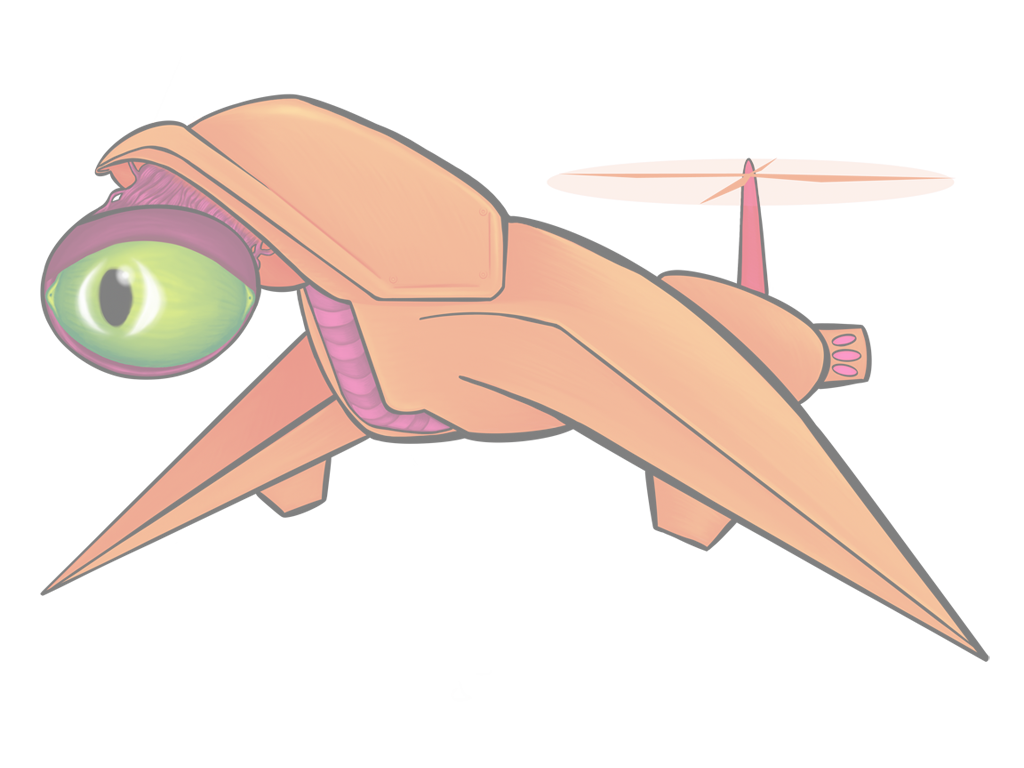

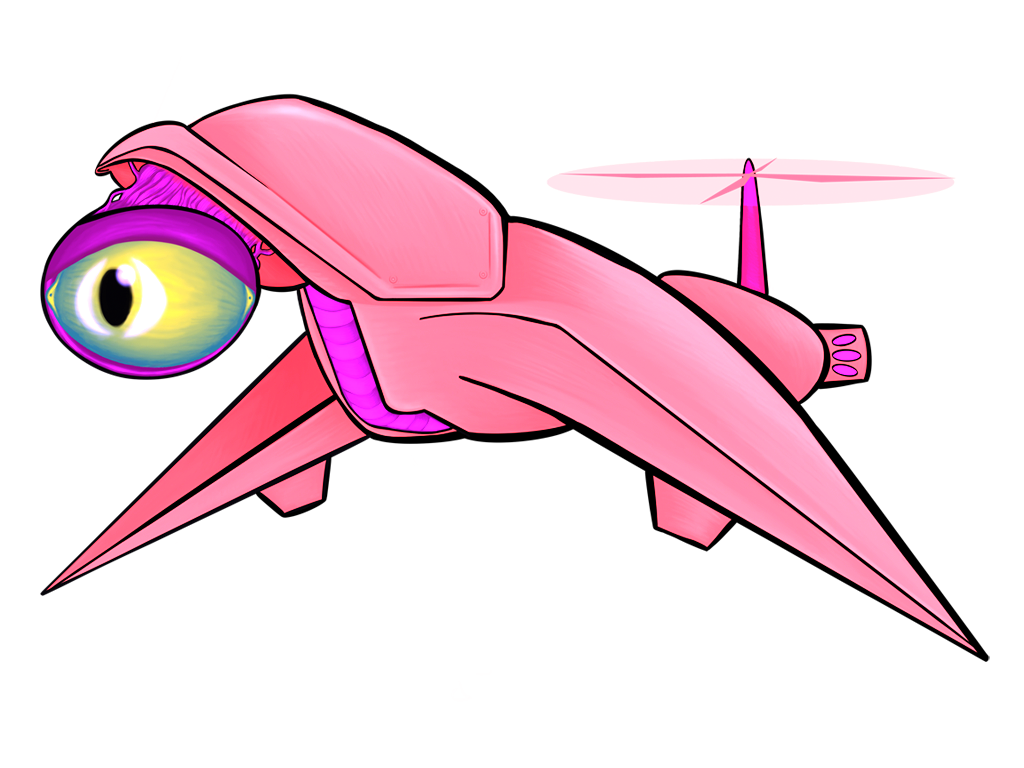


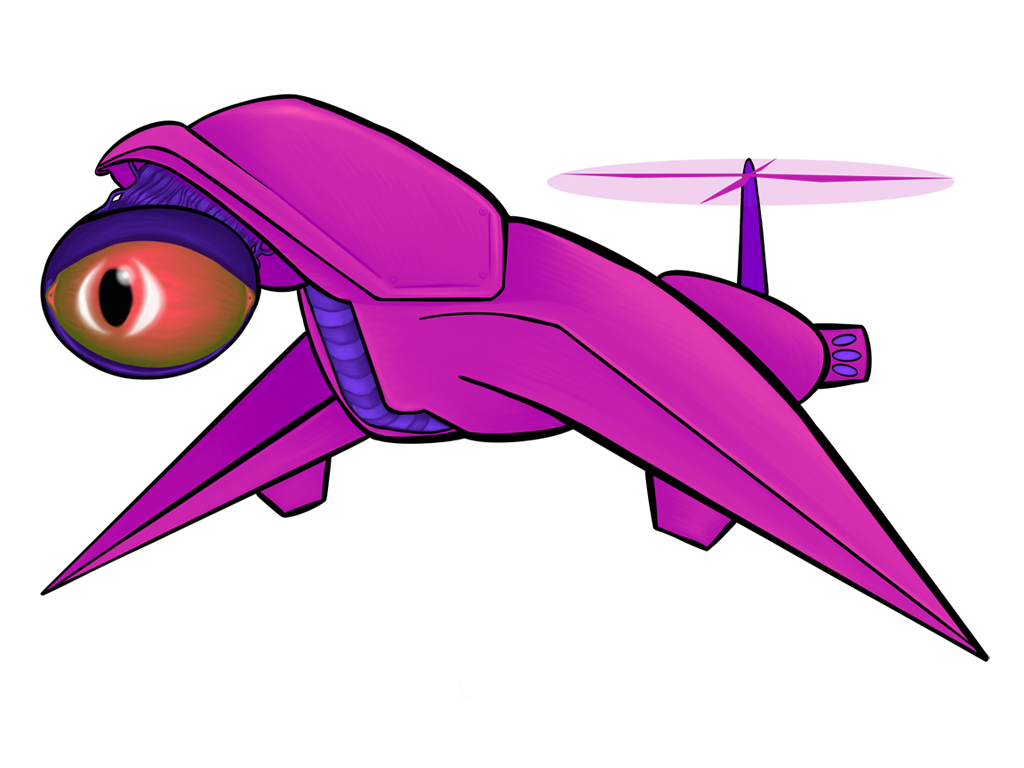
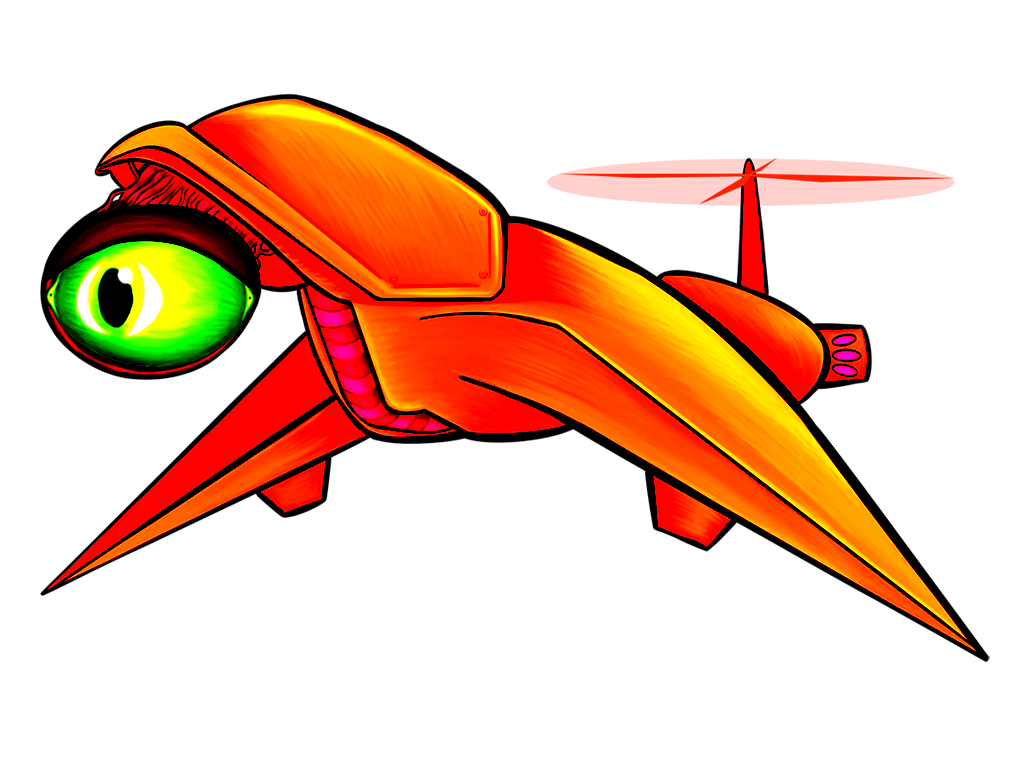


All of the above images use the same sprite as its source; the only thing that changes between them is a single matrix parameter. Remember, also, that these matrix “boxes” can be chained together and then repackaged as a single box. You want to hue shift something, then exaggerate the brightness, and then tint it all red? All of that will fit in a single box.
(NB: It might be worth clarifying that the matrix transformations we’re dealing with are very different from the custom filter matrices that allow you to do tricks like blur, sharpen, and find edges within an image)
Unpacking the Boxes
Now we’re going to peek inside some of these boxes, one by one, to see what they’re made of. But first, let’s go over some conventions and caveats.
First, we’ll be representing colors as fractions from 0.0 to 1.0. Depending on your background, you might be more used to seeing colors range from 0 to 255 — just divide those values by 255 to convert them.
Second, you might notice that there’s a fourth color channel in our calculations beyond red, green, and blue. This is not the alpha channel, as you might assume, but a bit of mathematical trickery from something called “homogeneous coordinates.” Pratchett fans might best think of this fourth channel as octarine, because it’s what makes all of this magic possible. We’re going to leave this channel set to 1.0 because we want all of the magic we can get.
In theory, you could make 5x5 color transformation matrices that bring the alpha channel into the mix — and indeed many image processing libraries do just this — but the kinds of effects this unlocks are of very niche utility, so we’re going to leave alpha out of the mix and stick with 4x4 matrices that are super easy to feed into a custom shader.
Third, while many of these matrices are self-clamping, some will wind up giving you result colors outside the standard 0.0 to 1.0 range. Depending on context, this may or may not be an issue… just be aware of it!
Finally, as you’re exploring these recipes, don’t feel constrained by keeping your color parameters within the standard 0.0 to 1.0 range! Try blending your sprites with ‘impossible’ colors like 200% cyan or negative green. Sometimes you’ll just wash out the sprite that way, but other times you’ll find a neat new effect!
The recipe book
I’ve made you wait long enough. Let’s take a look inside some of these boxes!
Multiply
Use this simple matrix everything will work just like it already does by default in most game engines. It wouldn’t be the industry default if it weren’t at least kind of useful, so here’s your assurance that you’re not losing this capability.
Multiply by color (r,g,b):
[ r  0  0  0 ]
[ 0  g  0  0 ]
[ 0  0  b  0 ]
[ 0  0  0  1 ]

Screen
A screen blend is an inverted multiply. Where multiply only darkens images, screen blend only lightens them. Screen blending with black leaves an image unchanged, and screen blending with white turns everything white.
Screen blend with color (r,g,b):
[ 1-r  0    0    r ]
[ 0    1-g  0    g ]
[ 0    0    1-b  b ]
[ 0    0    0    1 ]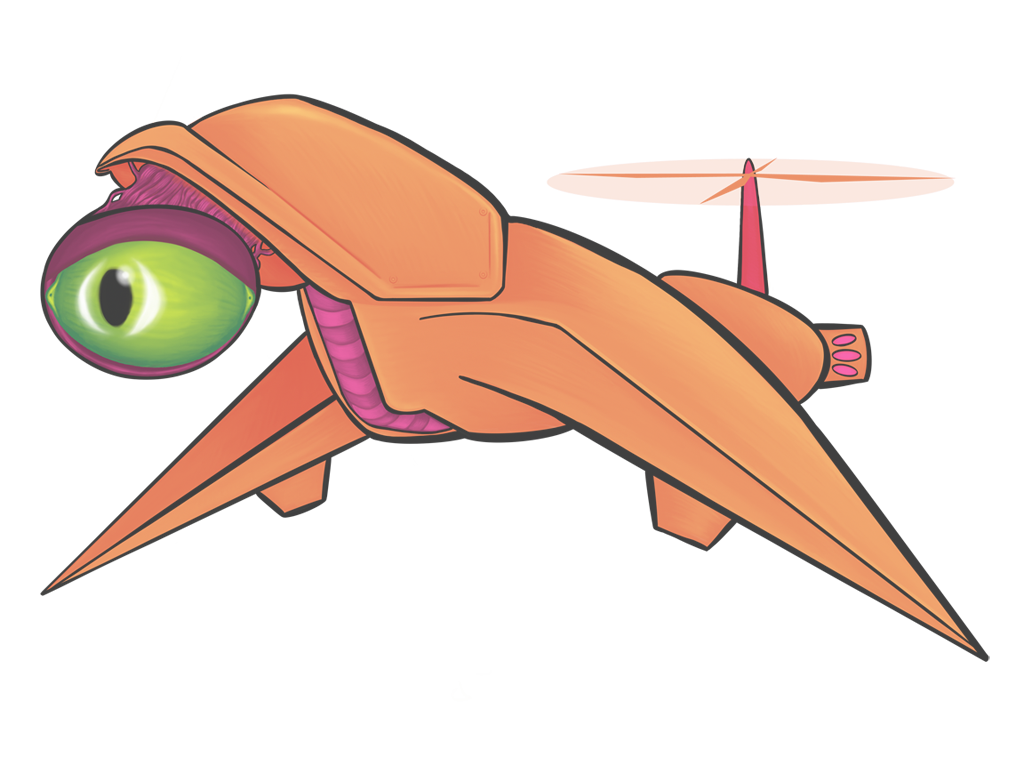


Color fill with alpha blending
This is the type of matrix you want to use to gradually turn your sprite into a constant color. Potentially useful for things like flickering a sprite to a constant show that it was damaged.
Fill with color (r,g,b) and opacity α:
[ 1-α  0    0    r*α ]
[ 0    1-α  0    g*α ]
[ 0    0    1-α  b*α ]
[ 0    0    0    1   ]
Additive Blending / Linear Dodge
Linear dodge, also known as additive blending, is like screen blend’s less subtle cousin. It lightens images, but without the same response to the light curves of the original image that you get from a screen blend. You can feed negative colors into this one to get a subtractive blend, too.
Add color (r,g,b):
[ 1  0  0  r ]
[ 0  1  0  g ]
[ 0  0  1  b ]
[ 0  0  0  1 ]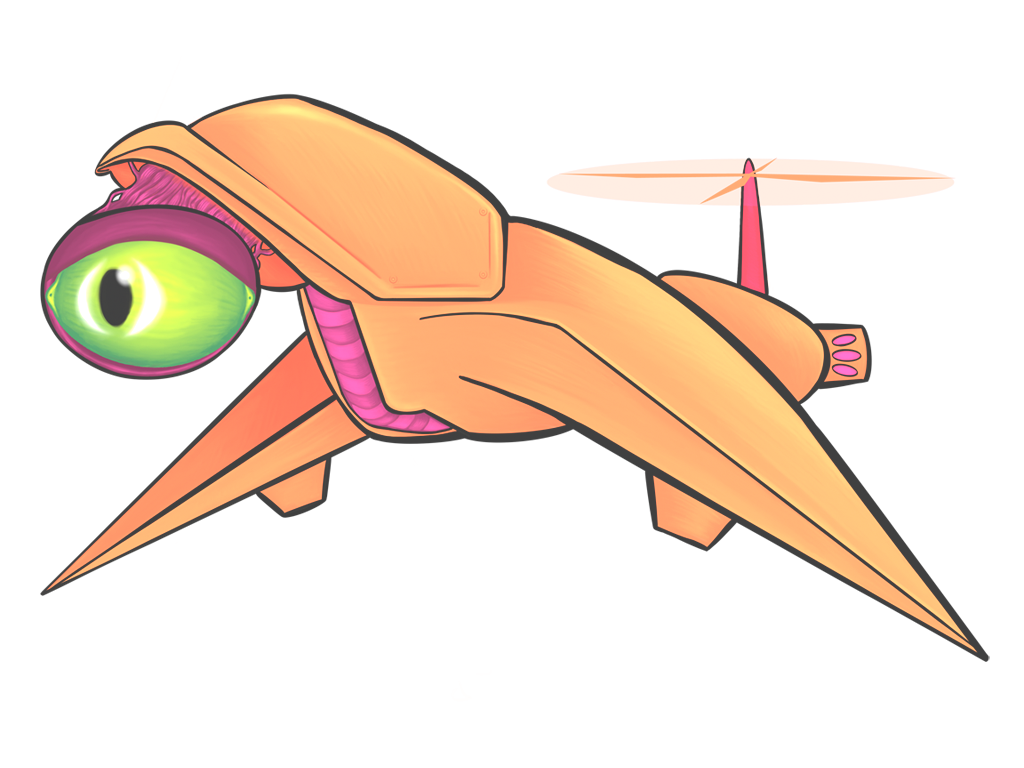


Linear Burn
Multiply’s cousin, and linear dodge’s shadowy twin. Mathematically, this is addition viewed upside-down. Gives you the same dynamics as a subtractive blend, but is sometimes easier to conceptualize as a ‘blend’ when you think of it this way.
Linear Burn with color (r,g,b):
[ 1  0  0  r-1 ]
[ 0  1  0  g-1 ]
[ 0  0  1  b-1 ]
[ 0  0  0  1   ]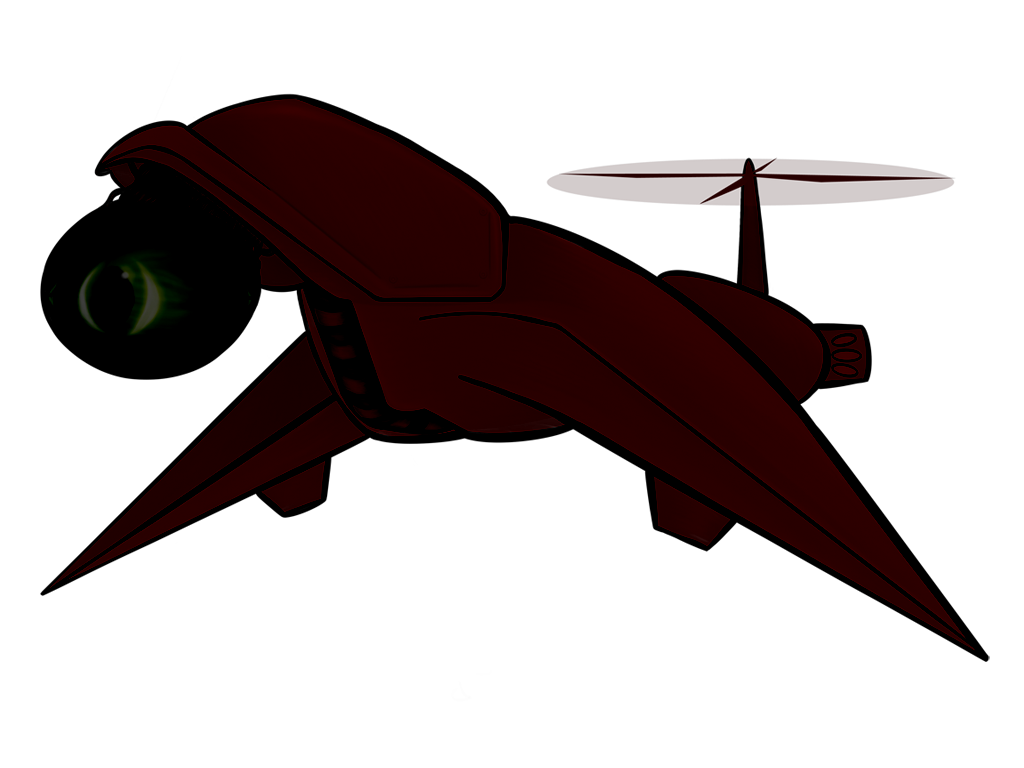

Color Dodge
Another lightening effect, and it’s hard to explain the feel of this one. It’s kind of a more contrasty version of its cousins, screen and linear dodge.
Color Dodge with color (r,g,b):
[ 1/(1-r)  0        0        0 ]
[ 0        1/(1-g)  0        0 ]
[ 0        0        1/(1-b)  0 ]
[ 0        0        0        1 ]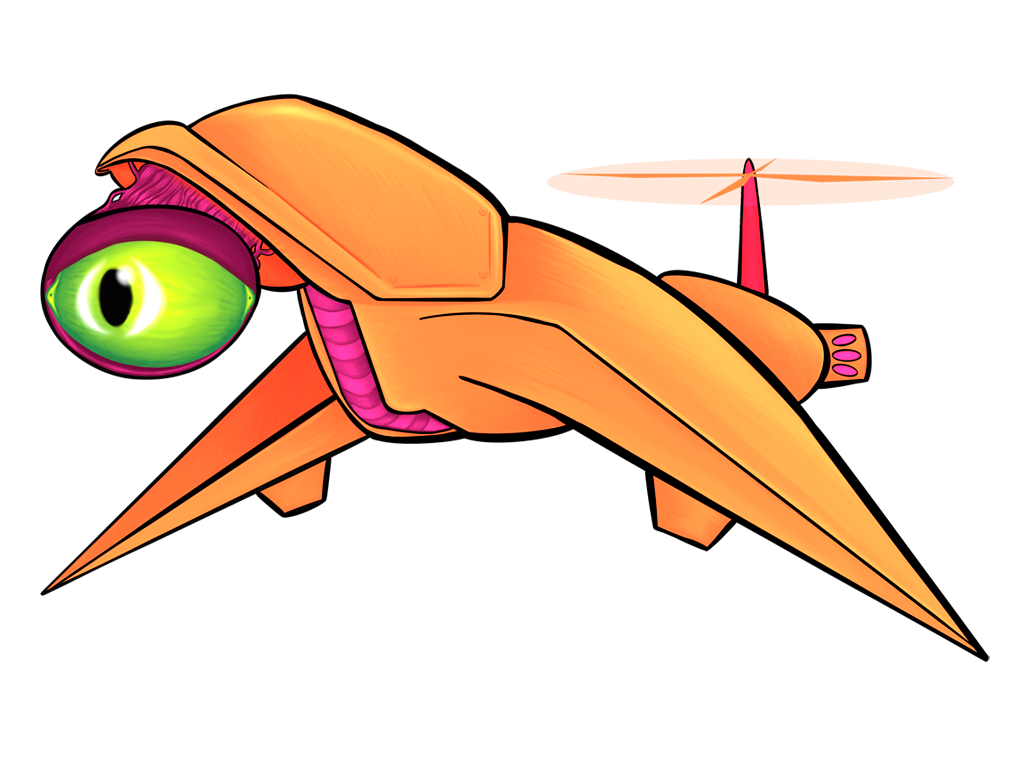

Color Burn
You didn’t really think color dodge could get away without having a shadow twin too, did you?
Color Dodge with color (r,g,b):
[ 1/r  0    0    1-1/r ]
[ 0    1/g  0    1-1/g ]
[ 0    0    1/b  1-1/b ]
[ 0    0    0    1     ]


Tinted Monochrome
Grayscale, sepia, and other monochromatic effects. Useful for turning sprites into stone or ice.
The coefficients here — 0.30, 0.59, and 0.11 — reflect the relative perceived luminosity of red, green, and blue. You might want to toy with them to see if some other values work better for the effect you want.
Grayscale tinted with color (r,g,b):
[ 0.30*r  0.59*r  0.11*r  0 ]
[ 0.30*g  0.59*g  0.11*g  0 ]
[ 0.30*b  0.59*b  0.11*b  0 ]
[ 0       0       0       1 ]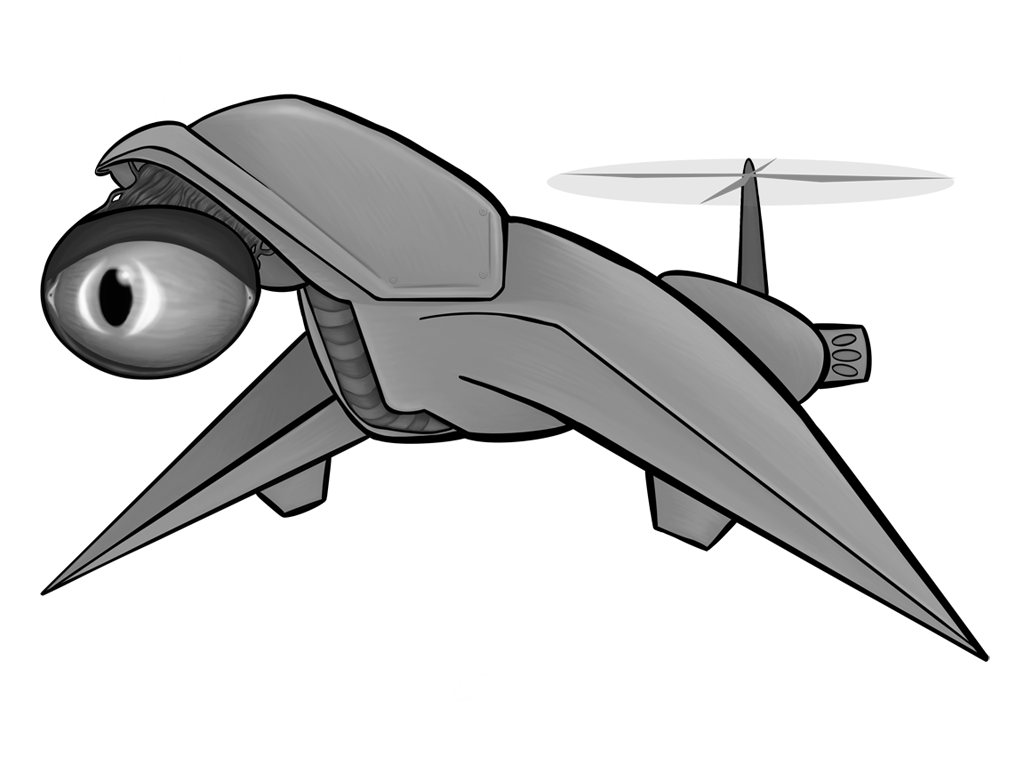

Hue Shifts
Keeps the brightness and saturation of every color, but spins it around the color wheel. For technical reasons, this won’t give you the same results that you’d get from your typical image processing program — reds, greens, and blues translate into richer, less saturated cyans, magentas, and yellows while secondaries translate into pastel versions of primaries. I’ve actually grown to prefer the matrix-powered hue shift to the standard HSB colorspace version.
Hue shift by θ:
[ R1  R2  R3  0 ]
[ R3  R1  R2  0 ]
[ R2  R3  R1  0 ]
[ 0   0   0   1 ]
where R1 = (1+2*cos(θ)/3
  and R2 = (1-cos(θ))/3 - sin(θ)/sqrt(3)
  and R3 = (1-cos(θ))/3 + sin(θ)/sqrt(3)

Saturate / Desaturate
Adjusts an image’s saturation. Like hue shifts, results may vary from adjustments made in HSB colorspace.
Saturate by amount v:
[ (1+2*v)/3  (1-v)/3    (1-v)/3    0 ]
[ (1-v)/3    (1+2*v)/3  (1-v)/3    0 ]
[ (1-v)/3    (1-v)/3    (1+2*v)/3  0 ]
[ 0          0          0          1 ]


Adjust Brightness
Adjusts an image’s brightness. Again, results may vary from adjustments made in HSB colorspace.
Adjust brightness to v:
[ v  0  0  0 ]
[ 0  v  0  0 ]
[ 0  0  v  0 ]
[ 0  0  0  1 ]
Adjust Darkness
Brightness adjustment, turned on its head.
Adjust darkness to v:
[ v  0  0  1-v ]
[ 0  v  0  1-v ]
[ 0  0  v  1-v ]
[ 0  0  0  1   ]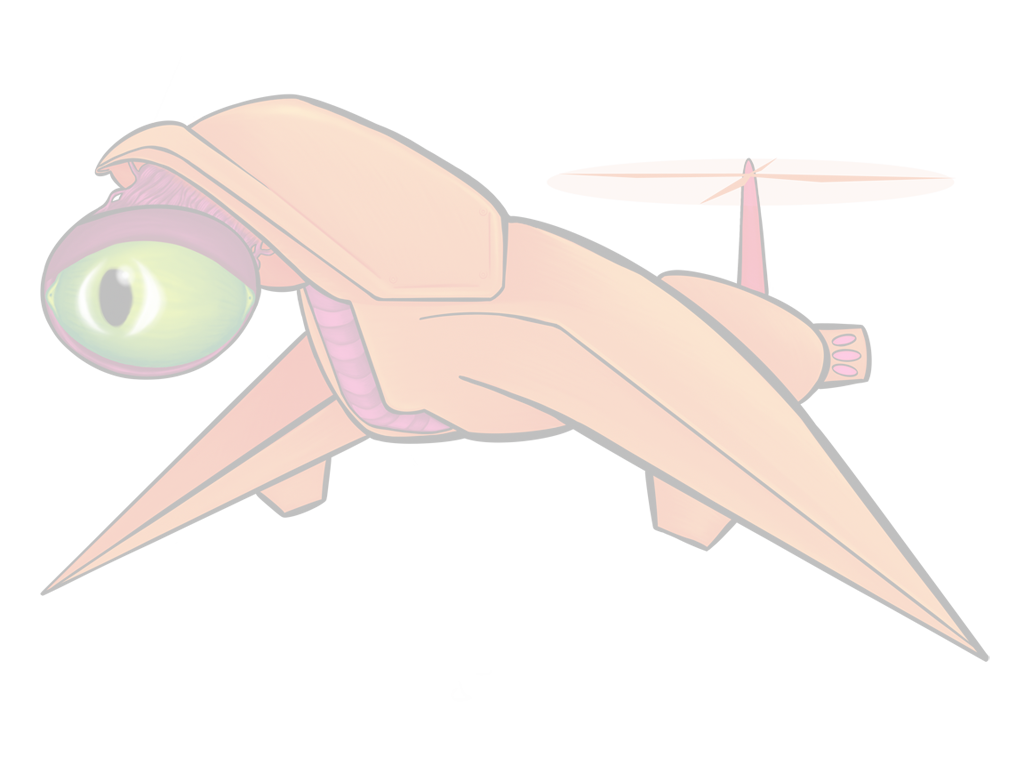


Adjust Contrast
This is a simple linear contrast adjustment technique that pushes colors further away from neutral gray.
Adjust contrast to v:
[ v  0  0  0.5-0.5*v ]
[ 0  v  0  0.5-0.5*v ]
[ 0  0  v  0.5-0.5*v ]
[ 0  0  0  1         ]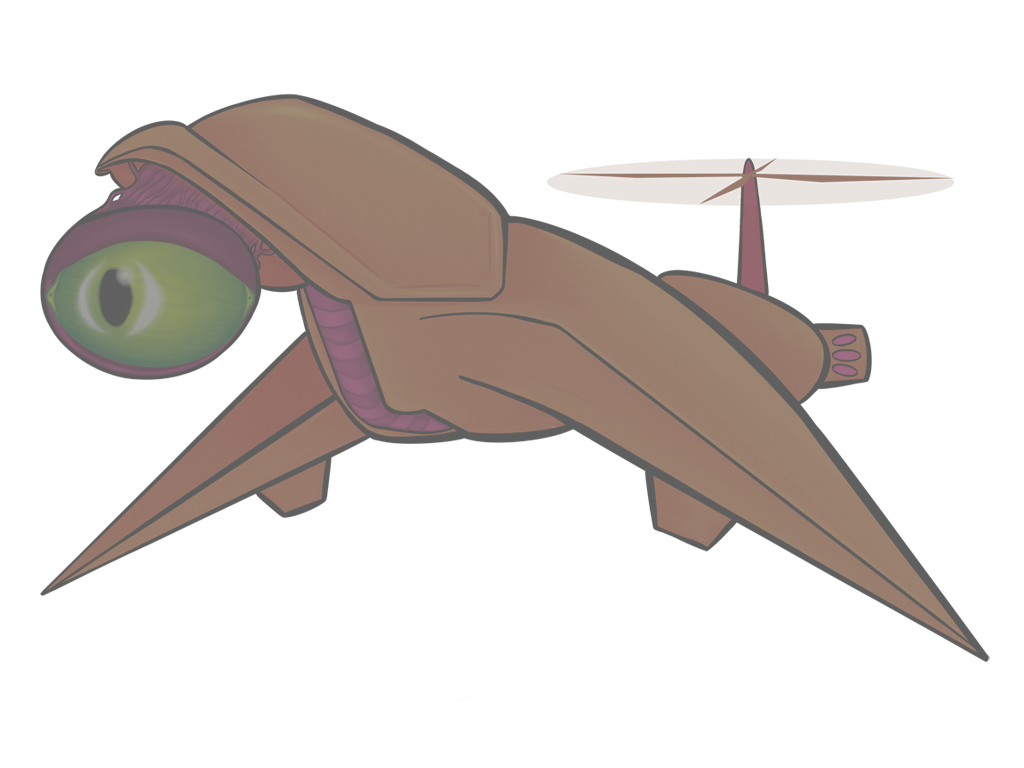

Invert
Swaps light and shadow, swaps colors for their complements. Useful as a special effect in its own right, or as a link in a chain of other effects.
Invert image:
[ -1  0   0   1 ]
[ 0   -1  0   1 ]
[ 0   0   -1  1 ]
[ 0   0   0   1 ]
Identity
Leaves the sprite unchanged. Including it in this list for reference, for the benefit of those of you who are still learning how matrices work (or who learned once, long ago, and have since forgotten). If you’re using this system to color your sprites, this will be the most useful default value.
Identity matrix:
[ 1  0  0  0 ]
[ 0  1  0  0 ]
[ 0  0  1  0 ]
[ 0  0  0  1 ]
Channel Swap
By swapping any of the first three columns of the identity matrix around, you can do a channel swap
Example (red and blue column swapped):
[ 0  0  1  0 ]
[ 0  1  0  0 ]
[ 1  0  0  0 ]
[ 0  0  0  1 ]


Making Your Own Recipes
There’s quite a bit more you can do with this concept — psychedelic color shifts, channel swapping, and some other fun tricks that might get their own articles down the road.
If you want to keep exploring this concept of your own and develop your own recipes, you’ll want an intuitive understanding of matrix multiplication, and for that I’d point you towards 3Blue1Brown’s YouTube series, Essence of Linear Algebra, a video series to which I give a lot of the credit for the ideas in this article.
Limitations and Caveats
One of the drawbacks to this approach is that, while you can safely interpolate between two colors if you’re using simple color multiplication, things can get weird when you interpolate between to matrices.
The good news is that for most of the recipes I’ve listed here (all of them except hue shift), linear interpolations within the same recipe tend to turn out fine. Interpolating between two different recipes, however, tends to transition through a muddy desaturated phase on the way.
For animations, it typically shouldn’t be a show-stopping problem, it just might mean manually charting a course to smoothly transition between one effect and the next. Sadly, though, this lack of a reliable universal interpolation function means the technique will be of limited use for 3D models.